[Editor’s Note: This article originally appeared in the May 2016 issue of Grassroots Motorsports.]
It’s a dream that has stored scorching rodders dreaming–and constructing–for generations: swapping engines.
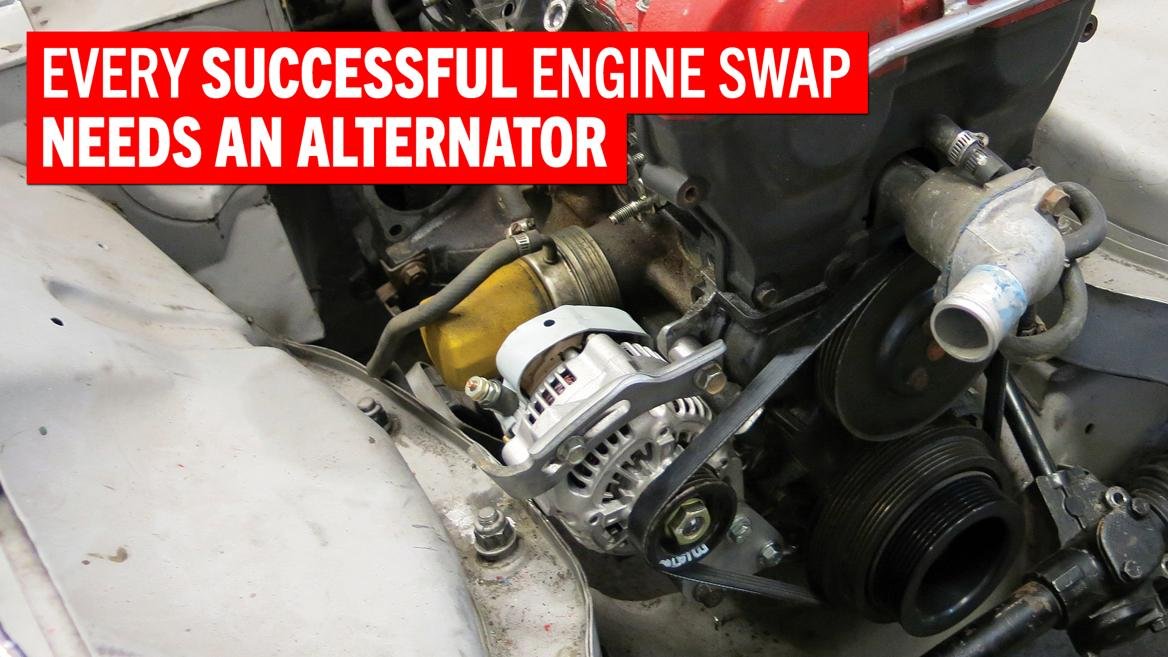
Substituting Powerplant A for Powerplant B isn’t all the time a bolt-in course of, although, particularly when it’s a cross-pollination challenge. That’s when you might want to get away the fabrication instruments, as we did when putting in a 1994 …
Step 1:
The manufacturing facility Miata alternator suits low down on the proper facet of the engine block, whereas the MGB engine bay narrows right down to a welded-on subframe–proper the place the Miata alternator wish to reside. Notching the subframe would weaken it an excessive amount of, and elevating the alternator would result in clearance points with the consumption manifold. We had been going to want a smaller alternator for our swapped MG.
Step 2:

Whereas one in every of our guiding rules with this swap is to make use of solely MGB or Miata elements to make future replacements less complicated, we needed to compromise on the alternator and discover one thing smaller. Many individuals like the varied compact “one-wire” models out there on-line, however we’ve discovered that these models’ longevity is usually suspect. We favor a standard alternator with a number of wires and a provision for an fool mild. We additionally need an alternator that’s comparatively simple to purchase at a elements retailer. The reply was a Denso alternator designed for an early-’90s Geo Metro. It has the form and 82-amp output wanted for a lot of of our initiatives.
Step 3:

Whereas the dimensions of the Geo alternative alternator physique labored for us, the pulley didn’t. The Geo makes use of a belt with one much less rib, so it’s too slim for our Miata belt. To resolve this, we simply used the Miata pulley, but it surely has a bigger shaft diameter. We had a machinist pal make up a bushing to adapt the pulley.
Steps 4 & 5:

We blocked the Geo alternator into the tough place and took sufficient measurements to sample a mount. (Our favourite sample materials comes from file folders.) We then traced our sample onto a chunk of 1/4-inch-thick metal and used a spring-loaded prick punch to find the three holes it wanted. We might then drill our holes.

Step 6:

Subsequent we rough-cut the bracket utilizing a 4-inch grinder fitted with a 1/16-inch cutoff wheel.
Step 7:

We now had a bracket that we might use for some check becoming.
Step 8:

We bolted the alternator to this primary a part of the bracket, and spaced the bracket with washers till the alternator pulley was in excellent alignment with the water pump and crank pulleys.
Step 9:

The washers that we used for the check becoming wouldn’t minimize it for the ultimate product. We fabricated a correct spacer out of 1-inch spherical inventory. Then we drilled out the middle.
Step 10:

We tack-welded the spacers to the bracket after which began engaged on the again a part of the piece. Utilizing switch punches, we marked the 2 holes that wanted to align from the entrance to the again of the bracket.
Step 11:

After some extra drilling and shaping, we added a chunk of metal to hyperlink the back and front of the bracket. Then it was time for extra check becoming.
Step 12:

Every time our bracket received slightly nearer to its remaining form, the tolerances used throughout the check becoming mattered extra. It’s useful to have a very clear understanding of alternator mounts, and this image reveals an vital element: Most alternators have two ears that kind the mount’s pivot level, and a protracted bolt then goes by means of these ears. That bolt’s alignment is essential, as bending the ears will trigger issues.
Since manufacturing tolerances exist, most alternators characteristic a sliding piece on one of many ears–on this case the rear ear. That sliding piece is normally a big roll-pin that’s pressed into the ear. Whereas the piece doesn’t slide simply, it does transfer when wanted to create the correct stress on the mounting bolt.
Steps 13 & 14

As we talked about, the pivot a part of the mount needs to be designed so it gained’t bend or break the alternator’s ears. If one lengthy bolt is used to mount the alternator, then a help have to be positioned between these ears. With no help, both the ears will get broken, or the bolt gained’t keep tight. We made our help from a small piece of tubing. We drilled the bracket for an interference match to the tubing that may let it slide barely whereas conserving help between the ears and bracket.

Step 15:

With the pivot facet of the mount completed, it was time to deal with the adjuster bracket. We had been in a position to make use of the manufacturing facility Miata piece, but it surely wanted a spacer to bolt to the proper place. We began that step by taking a measurement.
Step 16:

Subsequent we made a spacer from the identical 1-inch inventory that we used for our different spacers. We drilled a ten.5mm gap so its 10mm mounting bolt might simply move by means of.
Step 17:

We made positive that we had loads of adjustment in both course.
Step 18:

Ultimately, we made a really sturdy mount that provides first rate clearance in all instructions. Whereas we made an enormous compromise in utilizing a Geo alternator, we’re glad that we might at the very least use the stock-length belt. We figured the belt is extra prone to want alternative anyway, so we really feel we made the proper compromise.
Learn The Complete Swap Science Sequence:
- Swap Science: 14 Steps Before You Swap That Engine
- Swap Science: How To Build Custom Engine Mounts From Scratch
- Swap Science: How To Make Transmission Mounts
- Swap Science: How To Get Your Clutch Setup Just Right
- Swap Science: How To Make A Functional Gas Pedal
- Swap Science: How To Hold An Alternator
- Swap Science: Engine, Steering, and Exhaust Fitment
- Swap Science: Keeping Things Cool by Building a Cooling System
Trending Merchandise