
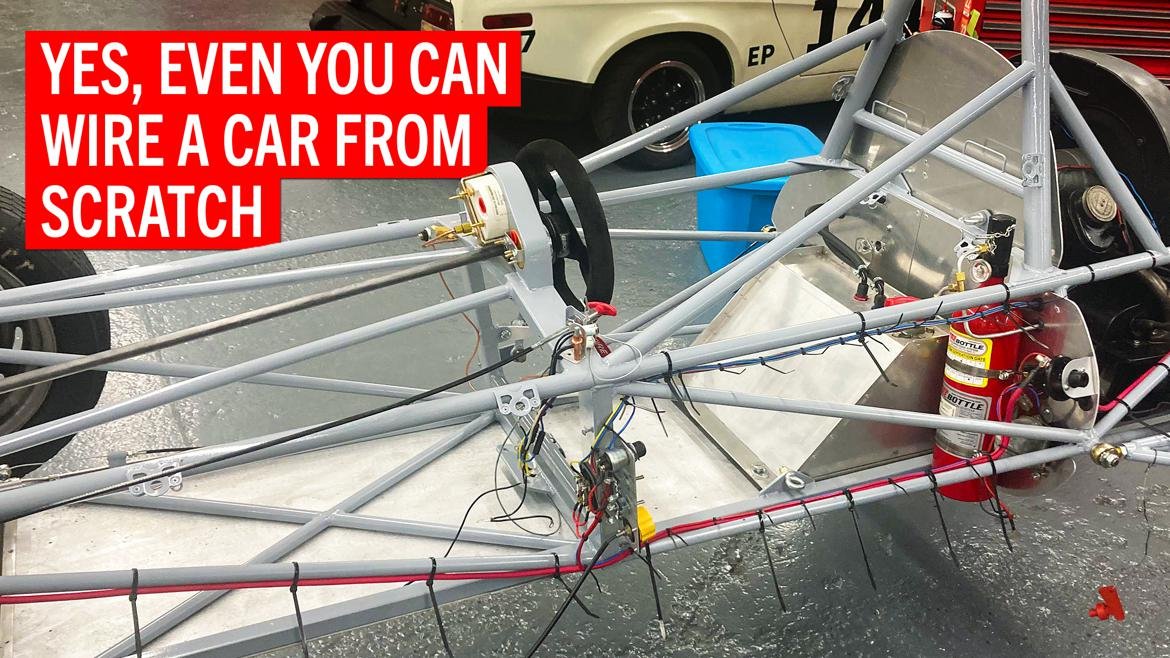
What do you do when it’s important to wire a automotive from scratch? Panic? Not so quick. Some methodical work plus confirmed strategies can simply ship success. Sure, you are able to do this.
Our newest challenge, a classic Method Vee single-seater, wanted a brand new harness, and premade replacements aren’t obtainable. We had two selections: Purchase a common package from corporations like Ron Francis Wiring and Painless Efficiency or make up a harness from scratch after sourcing the required wiring, switches and terminals.
The simple button is often to purchase a kind of premade setups, and we used a Ron Francis package on our Mustang classic racer. For this Method Vee, although, we needed to put in an era-correct harness and determined that scratch-built was the higher choice.
Usually, the package strategy saves a bit of money and time, whereas the scratch-build choices provides the possibility to get each element as desired. For the Method Vee, we might have spent about 5 to eight hours and, relying on the producer, $100 to $400 putting in a package. To scratch-build ours, we spent about $150 on wiring and parts after which invested about 15 hours planning and constructing the harness.
Since Method Vees have been constructed from parted-out VW Beetles, a lot of them used stripped-down and modified manufacturing unit wiring harnesses. We might have discovered a good used harness or bought a copy to chop down, however we determined to begin by figuring out which circuits we’d want after which sourcing new wiring in applicable colour codes and sizes for our harness.
We selected 1970 as our benchmark 12 months, discovered the wiring diagram in our manufacturing unit handbook, and constructed a spreadsheet for the wanted wires. The diagram not solely gave us our colour coding however the sizes of all of the wires as effectively. For instance, the starter swap makes use of a 12-gauge pink/black wire, and the coil is fed by a 16-gauge blue wire.
Whereas our spreadsheet provides good documentation, we are able to additionally use a 1970 Beetle wiring diagram and simply ignore the unused circuits. To us, that’s simpler than drawing up a brand new diagram (or not having one at all).
We estimated the lengths of every wire wanted and ordered them from Rhode Island Wiring Service. Since we’re compulsive with our wiring, we needed to make use of right German-style terminals, which we sourced from Goodspeed Motoring.
Subsequent, we sourced our switches, fuse field and different ancillaries. Most of these got here from our native NAPA, as we needed available switches in case we’d want them on the observe. We after all purchased an additional of every merchandise to maintain in our spares package. We additionally wanted just a few specialty objects, just like the grasp swap and the rain mild, and people got here from Pegasus Auto Racing Provides.
Groundwork completed, truly constructing the harness isn’t that troublesome. Once more, it’s a matter of simply following confirmed procedures.
1. We began rewiring our Method Vee race automotive by pulling out our old-school VW handbook to discover a wiring diagram for a 1970 VW Beetle. There are pictures of those diagrams all around the web as effectively, however in the event you go that route, be certain that it’s from a dependable supply since many will not be right.

2. We constructed this spreadsheet to plan our harness, noting the colour codes, sizes and routing of required wires. We additionally put half numbers of our switches and different parts within the spreadsheet so we might get replacements when wanted.


3, 4. We ordered our wire from Rhode Island Wiring Service and our German-style terminals from Goodspeed Motoring. (We’ll have much more particulars about wiring and terminal selections in an upcoming story, so keep tuned.)

5. We then put in our main parts within the chassis, together with the battery, voltage regulator, swap panel and extra.

6. We began operating wire with the most important one first. On this case, it’s the 2-gauge grasp battery wire.

7. We then began roughing the wires to and from the key parts, beginning on the starter in again.

8. By the point we obtained to the center of the automotive, we had fairly a multitude on our fingers.

9. So we began to neaten up the tough wiring behind the automotive and routed it by its remaining places.


10, 11. We then repeated the method for the midsection of the automotive by roughing it out, neatening it and routing it.

12. There’s so much happening on this image as we carried out yet one more neatening course of. First, we have been extraordinarily fussy and made positive that the wires are routed parallel to one another within the harness and don’t cross one another. Notice that we didn’t tape the harness or use different wraps until harsh situations would dictate further safety. Zip ties preserve the harness bundled neatly. Not solely is that this strategy enticing, however it makes future diagnostics and repairs considerably simpler.

13. We stored routing and neatening elements of the harness till it was performed. Then we lower off the tails of the zip ties. We’re very cautious to chop the tails with flush-cut snips in order that we go away no sharp edges. Sharp zip tie edges could cause cuts extreme sufficient to wish stitches.

14. Yet one more observe about zip ties: We use them to bundle the harness or to safe the harness to the chassis, however not each. That approach, if we have to take away the harness, we simply lower the securing zip ties, permitting the harness to return out as an entire. A pal who labored on a Le Mans crew taught us this “determine 8” technique to safe the harness to the chassis: It places a bit of area between the wires and the chassis, facilitating any future service work. It takes two zip ties to do that: a big one across the harness and chassis tube plus a small one between the harness and chassis tube.


15, 16. By following this playbook, we ended up with a harness that’s neat, simple to diagnose and intensely dependable for a lot of races to return. We’ll cowl extra particulars and plenty of extra strategies within the subsequent installment of this sequence.
Feedback


That “determine 8” technique of securing the harness to the chassis is intriguing, however the picture would not make sense, in all probability because the tie wraps are all black so it is exhausting to see the place the small one intersects the big one? I simply can’t determine the way you’d do that with solely 2 tie wraps….

Related third grader joke: what did the zero say to the eight? Hey, good belt!
Loop the massive zip tie across the tube and wire, and go away kinda unfastened. There’s the zero. Loop the small one across the massive one, like a belt, between wire and tube. Draw the small one tight and voila, the zero turns into an eight.

Tom1200 mentioned:
Is that the unique location of the swap panel?
I can not say for positive if it is the unique location, however quite a lot of Zinks have the switches there.

pmulry mentioned:
That “determine 8” technique of securing the harness to the chassis is intriguing, however the picture would not make sense, in all probability because the tie wraps are all black so it is exhausting to see the place the small one intersects the big one? I simply can’t determine the way you’d do that with solely 2 tie wraps….
Massive one goes across the chassis and harness, however not absolutely tightened. Small one goes across the huge one, between harness and chassis. Then I think about there’s some dance of tightening them each in steps till desired spacing/match is achieved.

Wanting ahead to that subsequent installment talked about up close to the terminals picture!
I’m completely staggered at how exhausting it is being to spherical up a set of open barrel, plated brass terminals. Grabbing an preliminary assortment from Goodspeed proper now, although I want they have been plated only for that final little optimization whereas making an attempt to get the whole lot as proper as attainable.
I am baffled at how exhausting it’s to get open-barrel terminals. Most suppliers appear to do closed-barrel, which I get the impression is nice if you need to use the proper of crimper, however that selection will not cross over a blade/tab kind terminal, proper? (I do not a lot take care of the end result when mashing a closed barrel terminal in a fundamental “U on one aspect, bump on t’different” kind crimper) I spent approach too lengthy at DigiKey, Mouser, and Newark confronted with hundreds of thousands of SKUs and obtained misplaced making an attempt to distinguish the variants, whereas Prowire, Wire Barn, Waytek, McMaster, and Del Metropolis simply had closed barrel…
A common primer on terminal varieties, connector, crimp varieties, wire issues, and so on can be superior… I obtained nothing helpful from chat assist at Newark when asking why there have been nonetheless 147 SKUs that appeared equivalent on the comparability web page as soon as I would filtered right down to a given wire gauge, 0.25″ fast disconnect, however then within the cart checking images confirmed all kinds of anomalies of building.
Displaying 1-6 of 6 feedbackView all comments on the GRM forums
You may have to log in to submit.
Trending Merchandise


