Within the hierarchy of automotive dreads, rust restore and wiring rank close to the highest for most individuals. Rust restore we get, however wiring doesn’t must be a nightmare. In spite of everything, a wire simply goes from one place to a different. How exhausting can that be?
The issue is there’s all the time a couple of wire. And people wires connect with issues. And terminals are sometimes of poor high quality or improperly used. Then, all these wires and terminals get put in a bundle. And that bundle is normally made very haphazardly. And it seems like a multitude. As a result of it’s a mess. Concern and dread: validated.
Nevertheless it doesn’t must be that approach. If wiring is completed neatly, utilizing high quality terminals and proper crimping, the work will be satisfying and can hardly ever fail past put on in switches, relays, motors and different elements. And if it’s accomplished with servicing these elements in thoughts, repairs are very fast.
We not too long ago rewired a Manufacturing unit 5 Kind 65Coupe. The automotive was constructed greater than 10 years in the past and was geared up with an American Autowire common wiring harness package. The set up was past sloppy, and the automotive had skilled typical gremlins and poor-quality “repairs” ever since.
Every “restore” was treating a symptom as an alternative of curing the core lack of neatness and high quality connections, so we pulled the whole lot aside and principally began over. We had been capable of save the harness as we did this. (By the way in which, Manufacturing unit 5 now provides purpose-designed wiring for its vehicles, so the corporate has made it simpler to keep away from a majority of these issues.)
Observe alongside as we flip a multitude right into a tidy, reliable and serviceable wiring harness that received’t encourage worry within the subsequent particular person to work on it. In future installments, we’ll cowl extra in regards to the instruments, terminals and strategies for wiring success. We’ll additionally educate you the right way to construct a harness from scratch–with and and not using a package. Follow us, and also you’ll be capable of take away wiring from your personal hierarchy of automotive dreads.
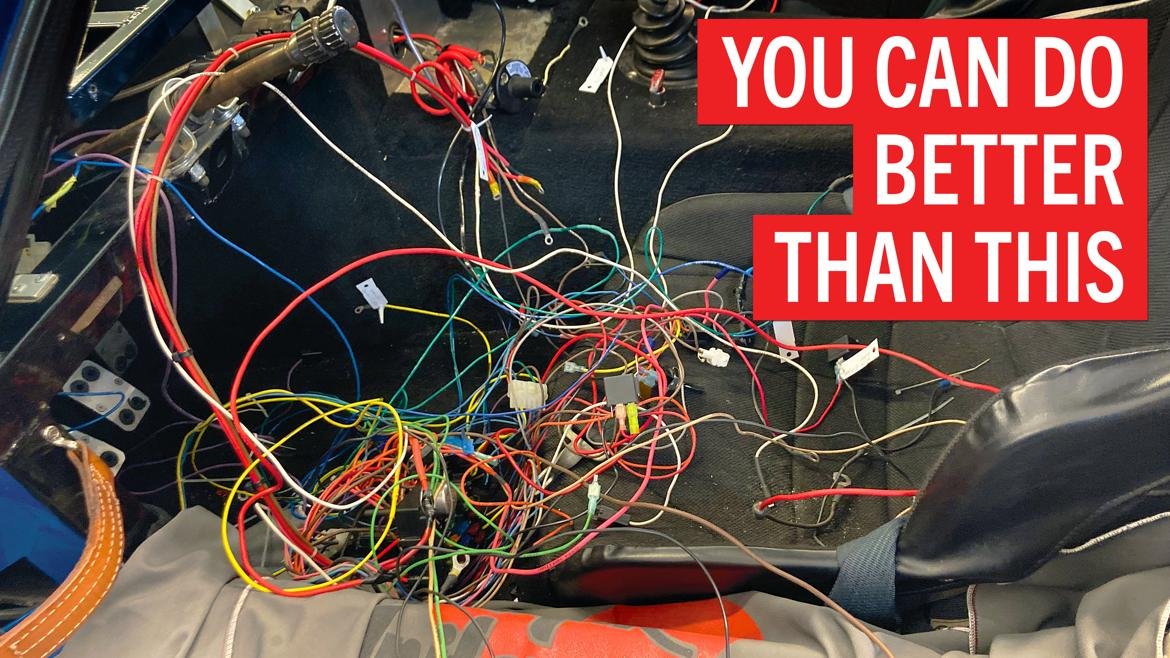
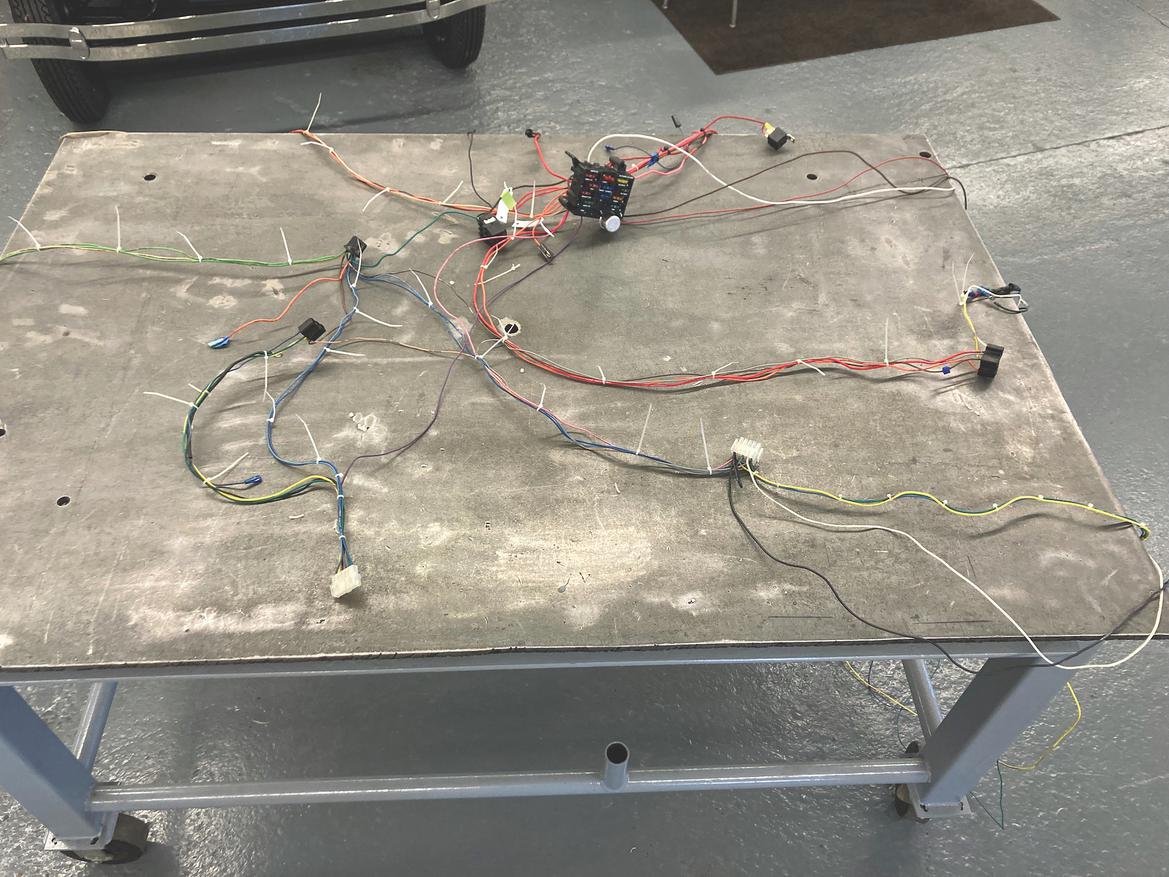
1. Once we pulled the dashboard out of this Manufacturing unit 5 Coupe, we discovered a typical wiring mess: wires of all colours and lengths, some as much as 6 toes too lengthy, plus relays that couldn’t be serviced with out eradicating the dashboard. Terminals ranged from high quality and correctly put in to tape and wire nuts. Overheated and partially melted wires and terminals had merely been left in place. We had a number of work to do.
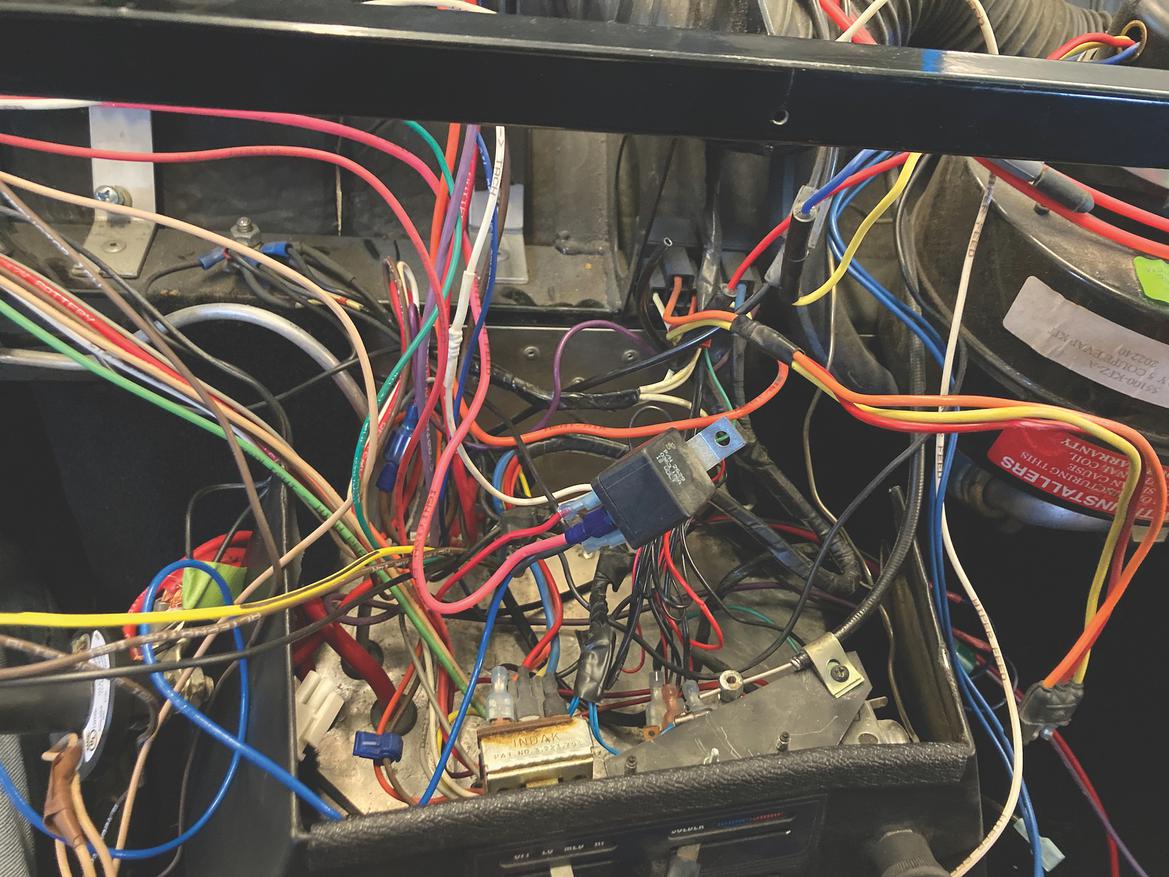
2. After spending somewhat time attempting to treatment issues in situ, we realized we’d save time by eradicating the fuse field and foremost dashboard harness from the automotive. We labeled and photographed the whole lot earlier than pulling it out so we had good references for later.
The simplest solution to make wiring serviceable is to untangle the mess and neaten the whole lot. Our neatness guidelines embrace not crossing wires; retaining acceptable wires bundled collectively, typically in subbundles; and retaining lengths precisely acceptable. This neatness takes time.

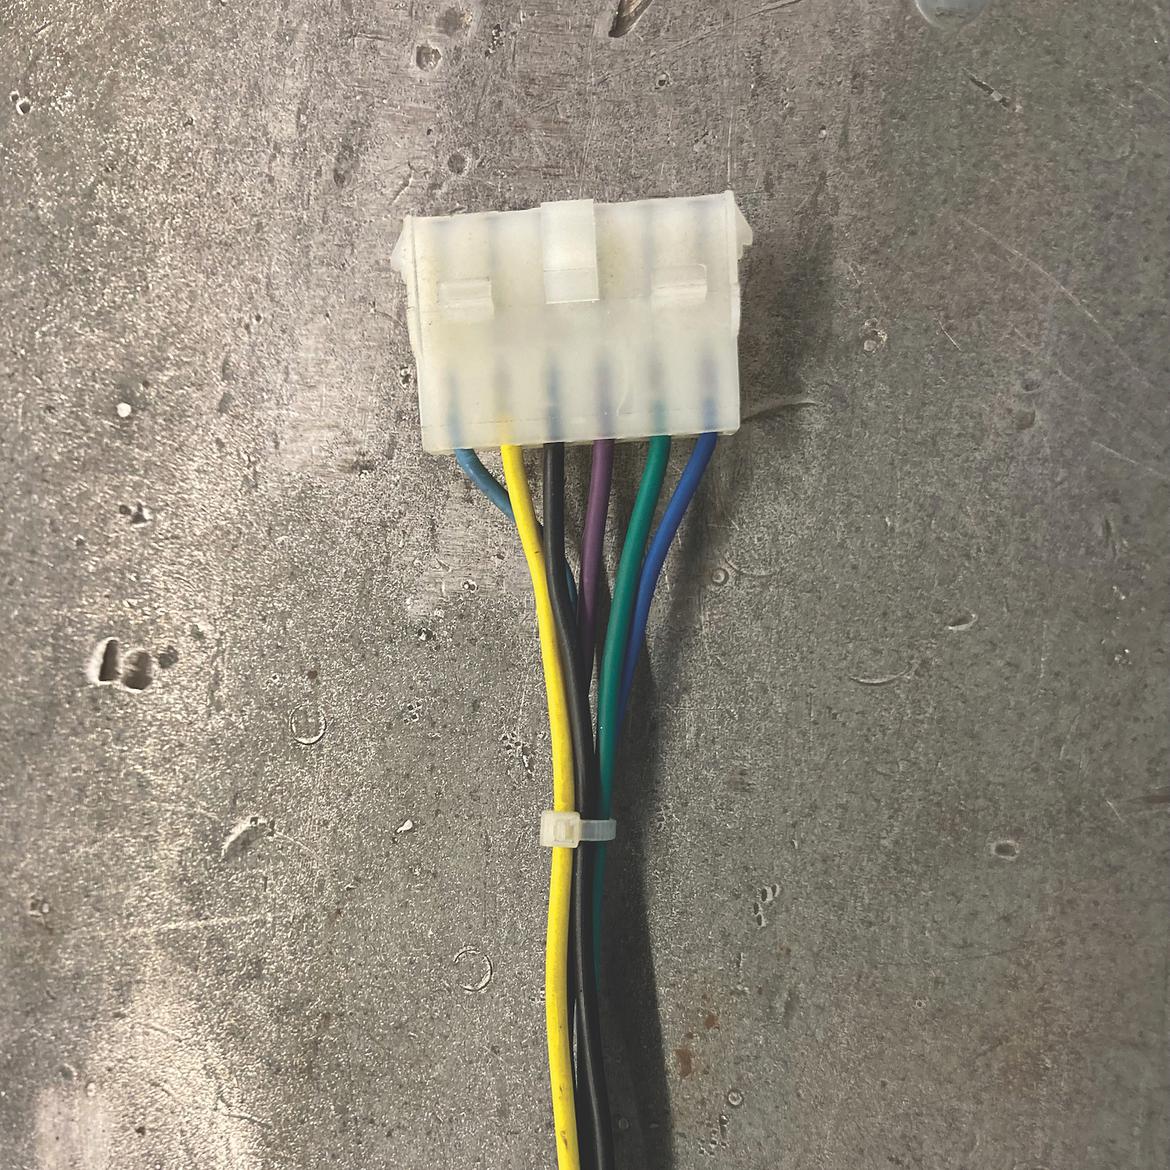
3, 4. Alongside the way in which, we discovered some wires tangled proper at their multi-wire connectors. We de-pinned these connectors and arranged the wires, ensuring to maintain them in the suitable place and never cross them. On this case, we used some momentary zip-ties to maintain the bundle neat.
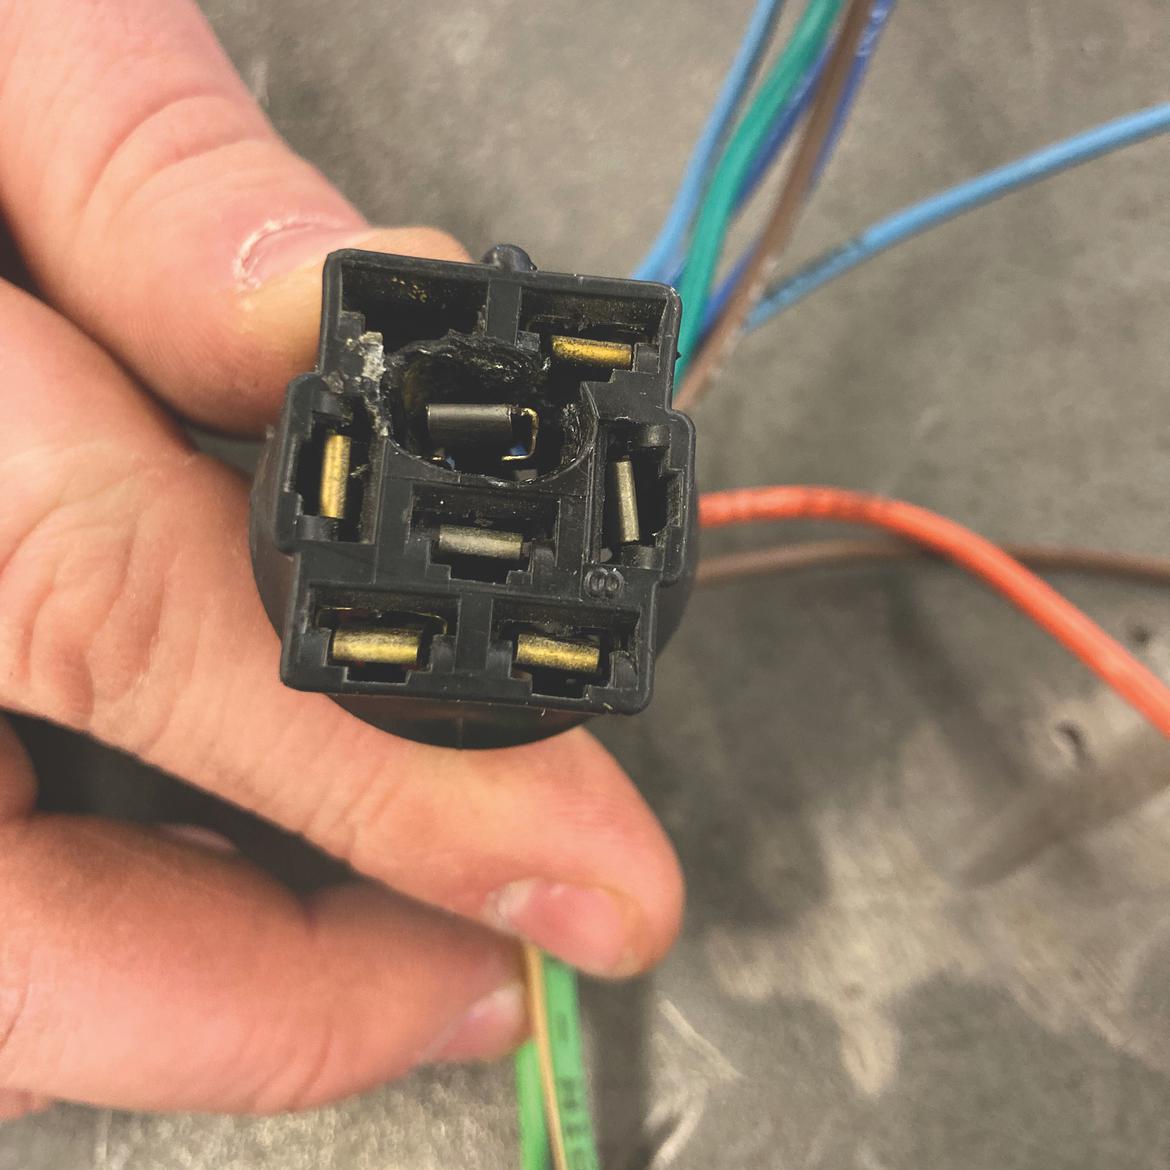
5. A few of our multi-wire connectors had melted. Happily, American Autowire sells replacements, so we reterminated the wires after which neatly inserted them.
6. At this level, we had the harness roughed out. We used extra momentary zip-ties to maintain the subbundles organized. We might then reinstall the fuse field and harness and work on routing and neatening the subbundles.
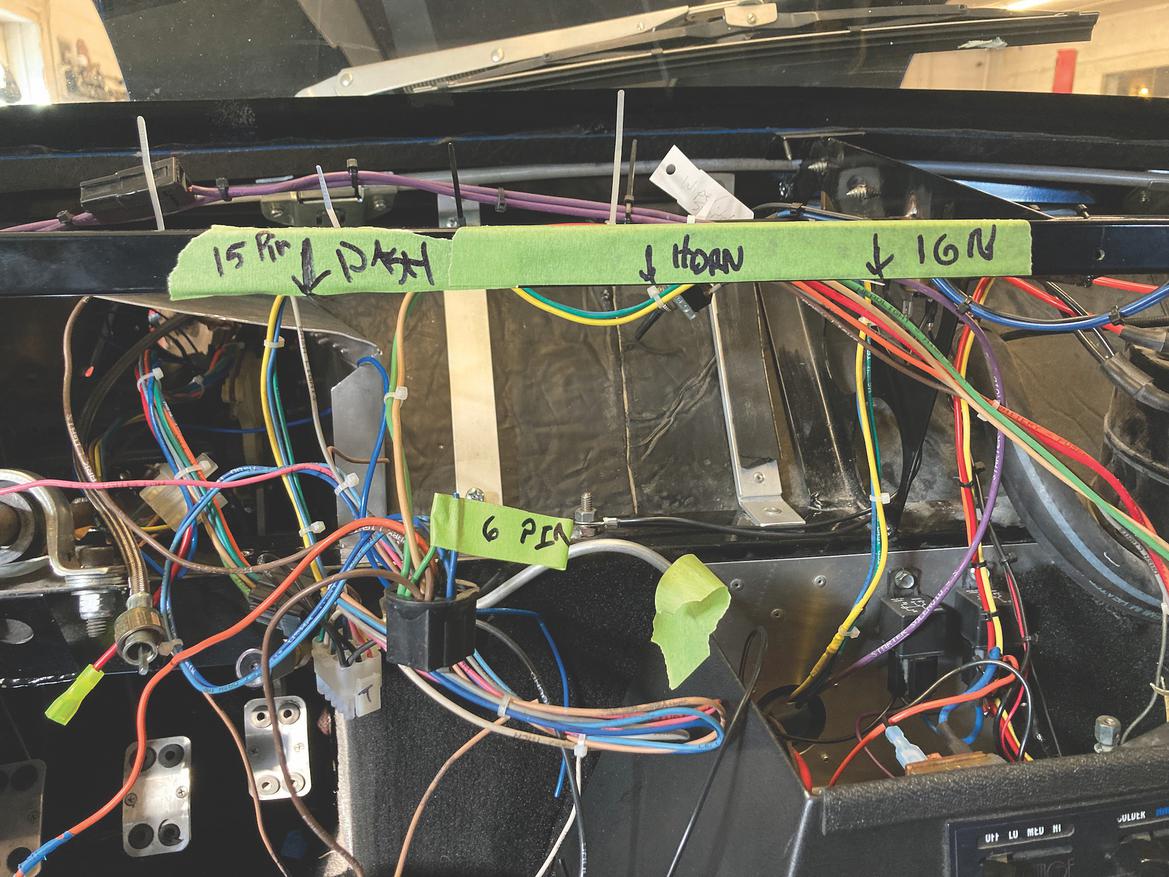
7. Coping with 15 to twenty circuits and a number of colours will be overwhelming. The American Autowire harness had printed circuit names on the wires, in order that made the job simpler for us (and fewer reliant on a wiring diagram). The place we would have liked extra data, we acquired out the tape and Sharpie to label issues.

8. We then neatened every subbundle. After figuring out acceptable lengths and reterminating wires as vital, we neatly held collectively the wires within the subbundle with zip-ties, ensuring they didn’t cross one another. That is a part of our technique for simplifying future service, as any wire will be simply seen and traced. If, for some motive, a wire must be eliminated or added, it may be accomplished with out disturbing the remainder of the bundle.
Lastly, we routed the wires alongside acceptable paths and hooked up them to the supporting construction. Be aware that we use zip-ties to bundle wires or connect these bundles to supporting construction, however by no means each without delay. This permits us to tug a subbundle from its supporting construction for service with out messing up the bundle.
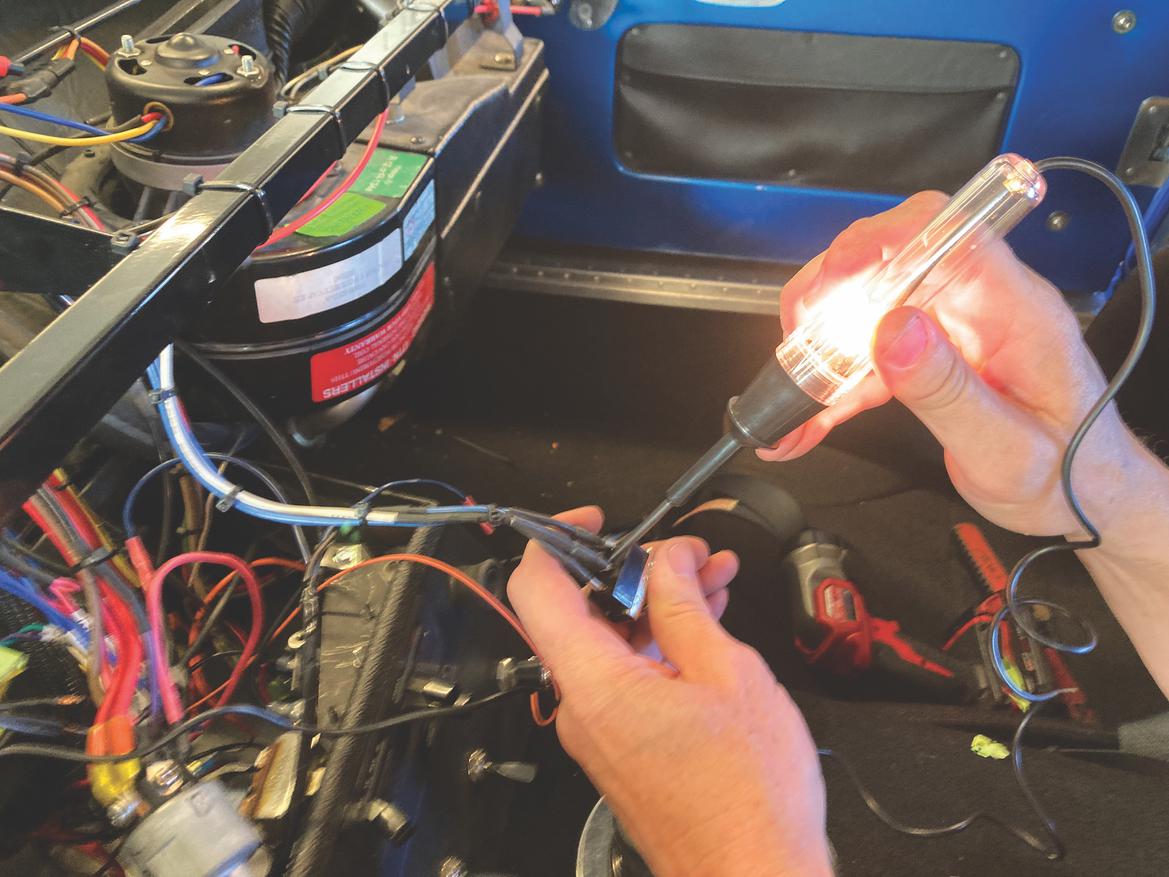
9. As we assembled every subbundle, we did our greatest to check our work. We’d typically connect a fused energy supply to the subbundle after which decide that the part was working correctly. If we couldn’t check the part, we’d use a multimeter or check mild to verify polarity and continuity had been acceptable.
[How to solve common electrical issues with only a test light]
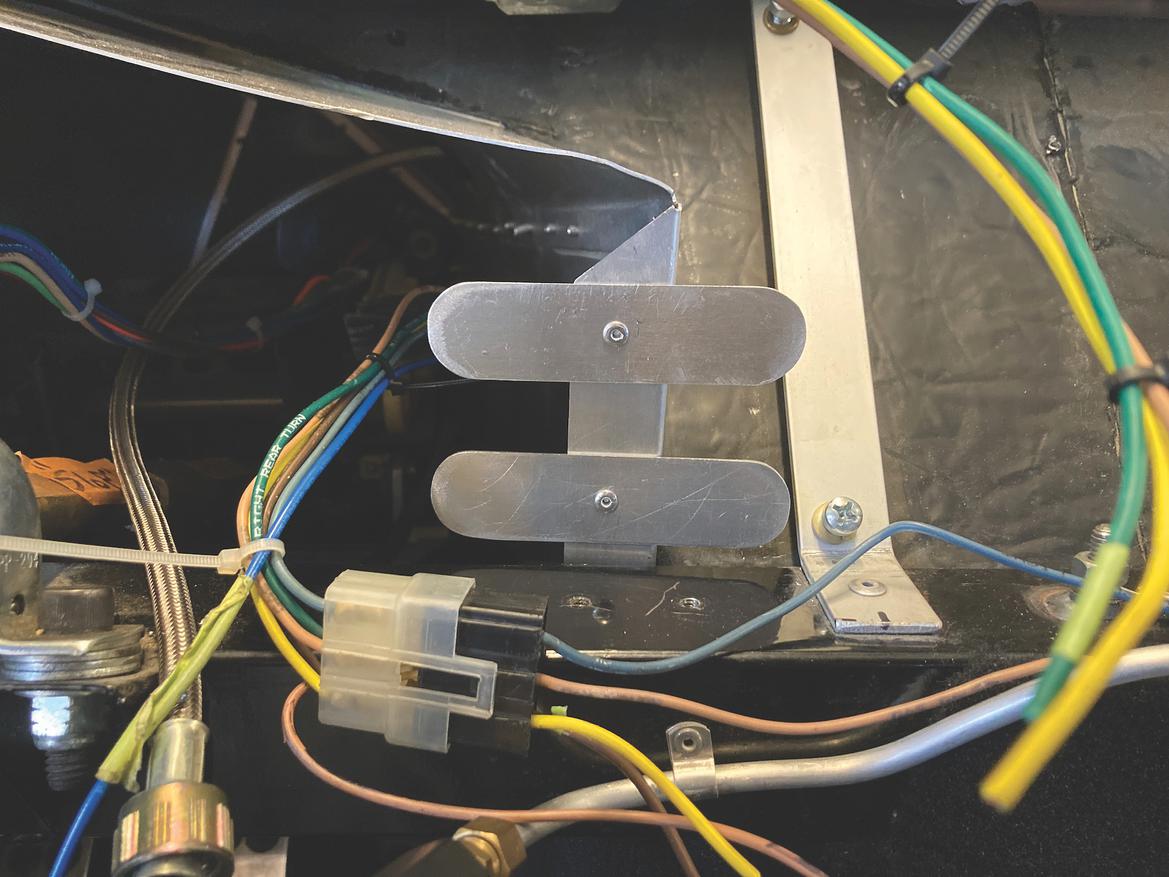
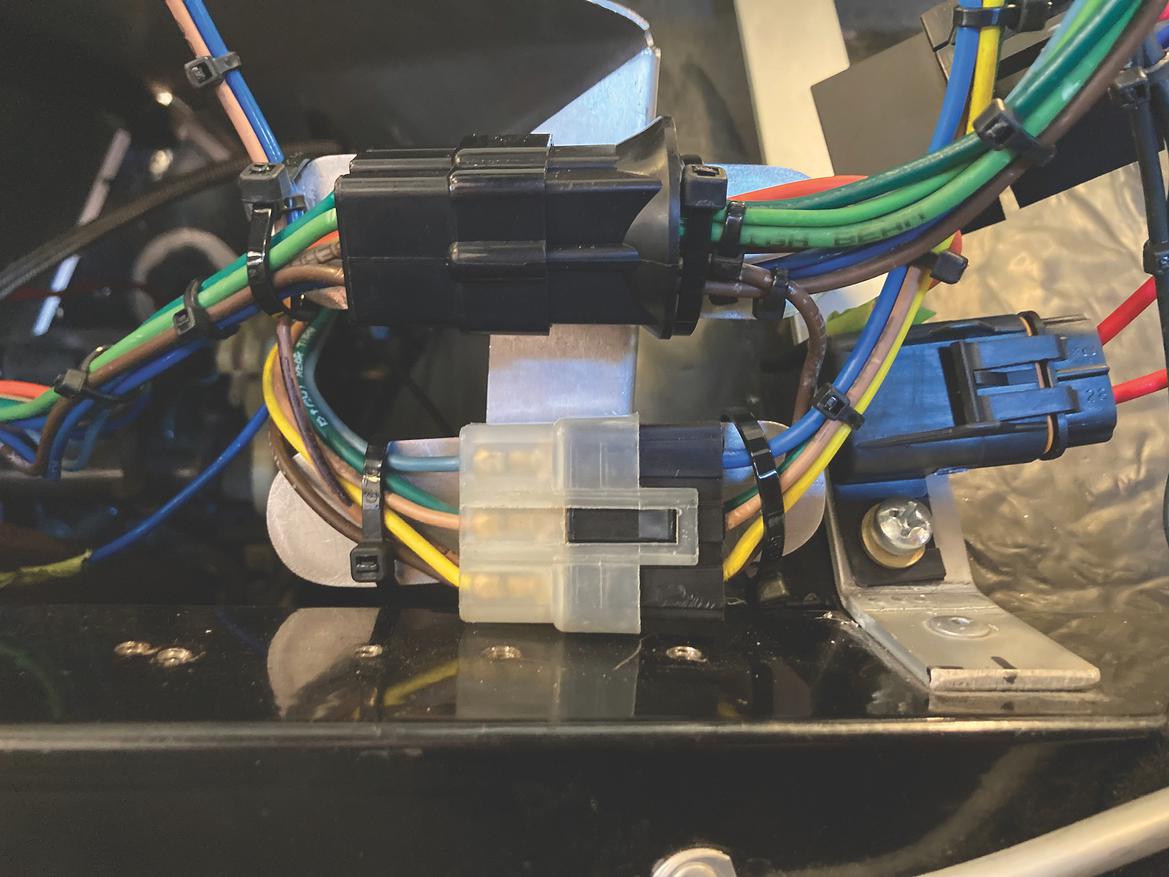
10, 11. Unsupported multi-pin connectors are a fairly large sin: They’re comparatively heavy and eventually are likely to shake themselves unfastened, even with high quality snap connections. So we try to connect and help them to some construction. On this case, we made some brackets to zip-tie them in place. We had been cautious to find the connectors and brackets in a spot the place they may very well be reached with the sprint in place for future service and restore.
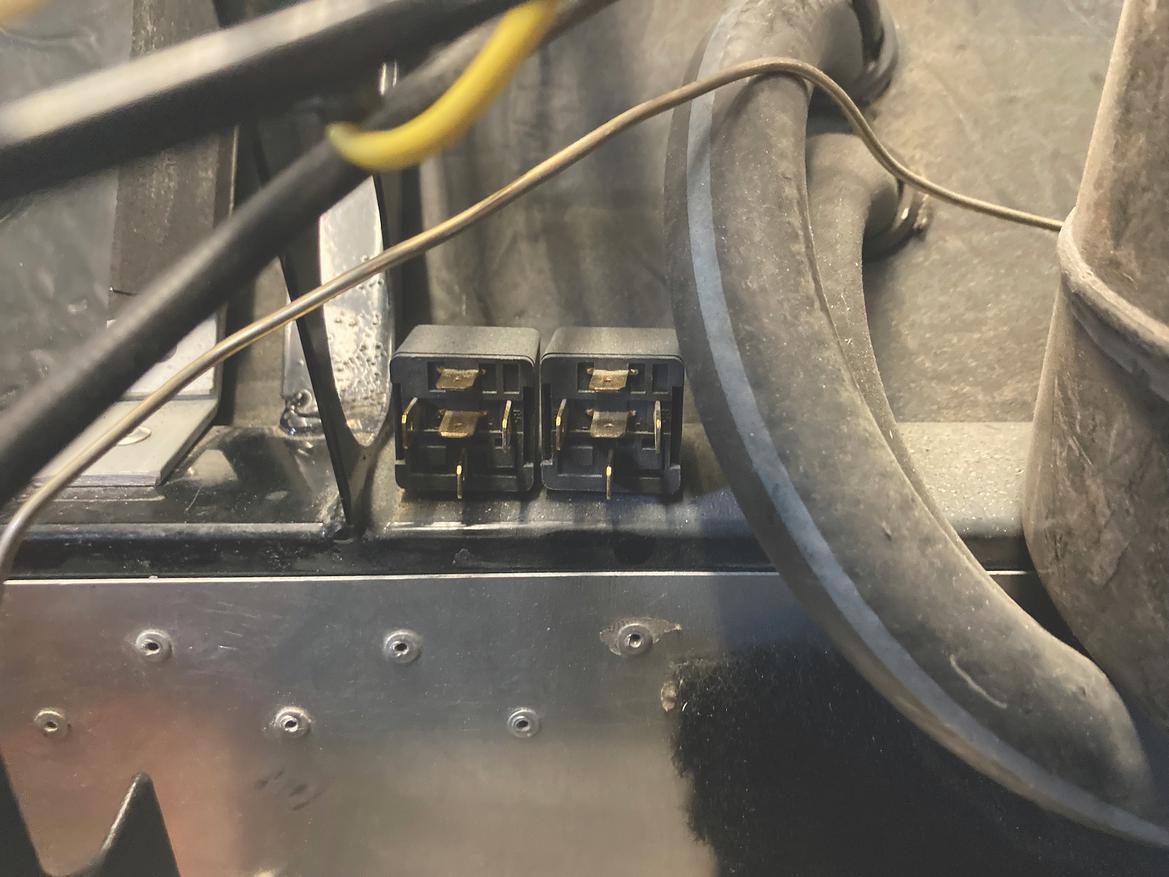
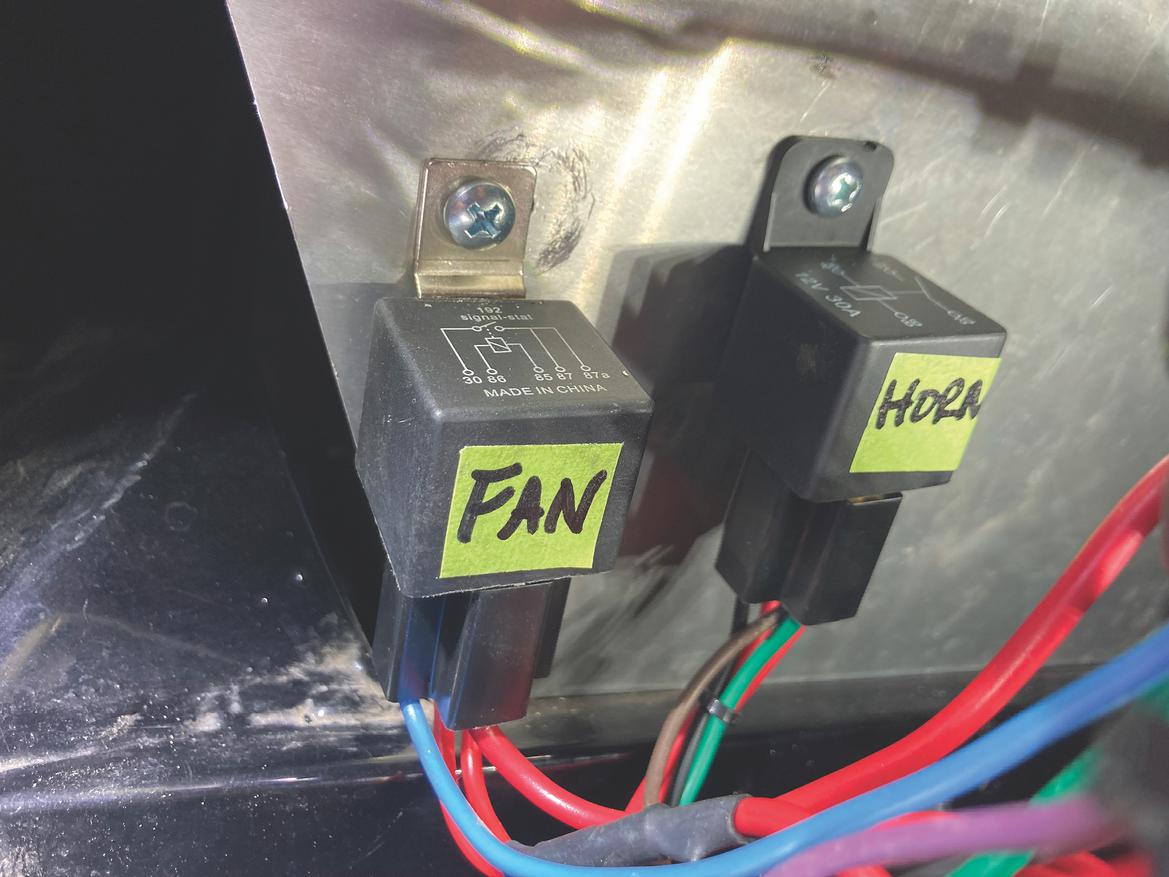
12, 13. These relays had been beforehand put in in a spot utterly unreachable with the sprint put in. Since relays fail now and again and should be serviced, we relocated them inside simple attain. We additionally transformed their connections from 4 particular person wires and terminals to 4 terminal multi-connectors sourced from Terminal Provide. Lastly, we labeled them.
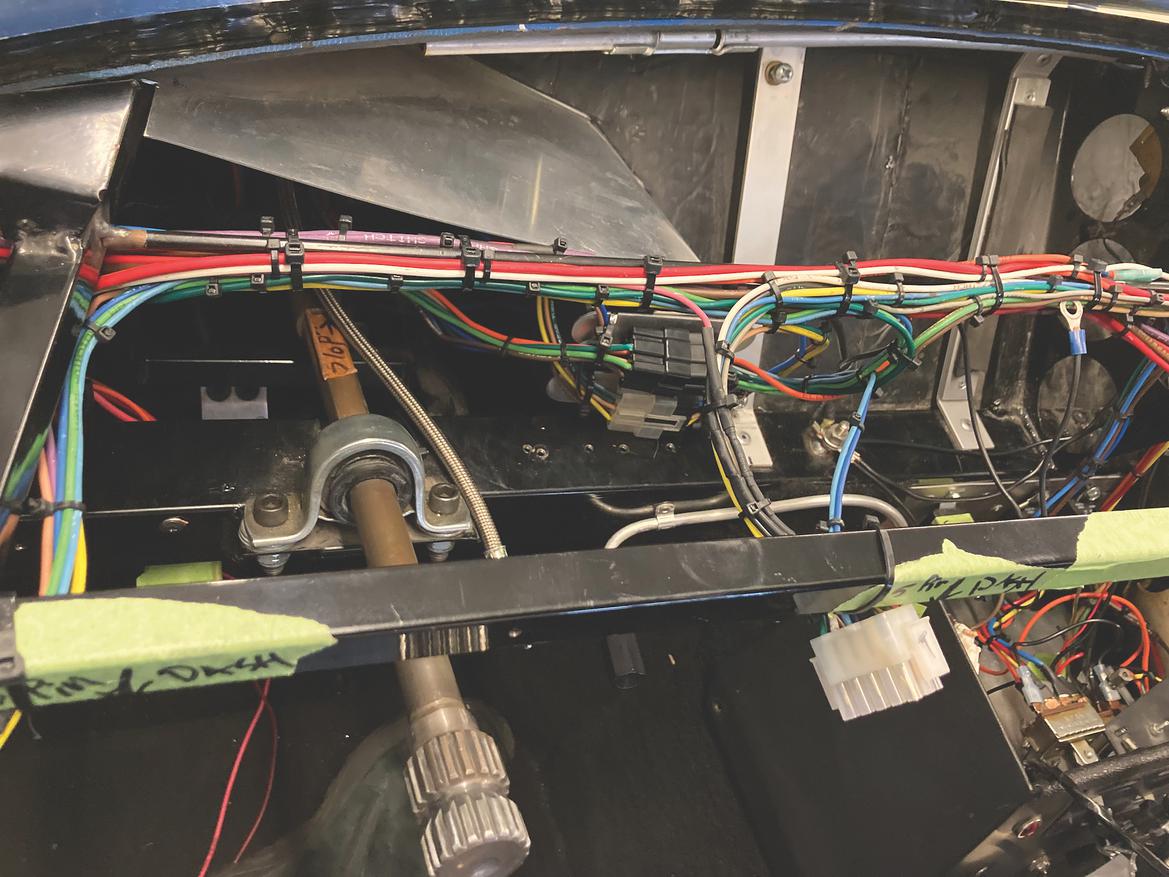
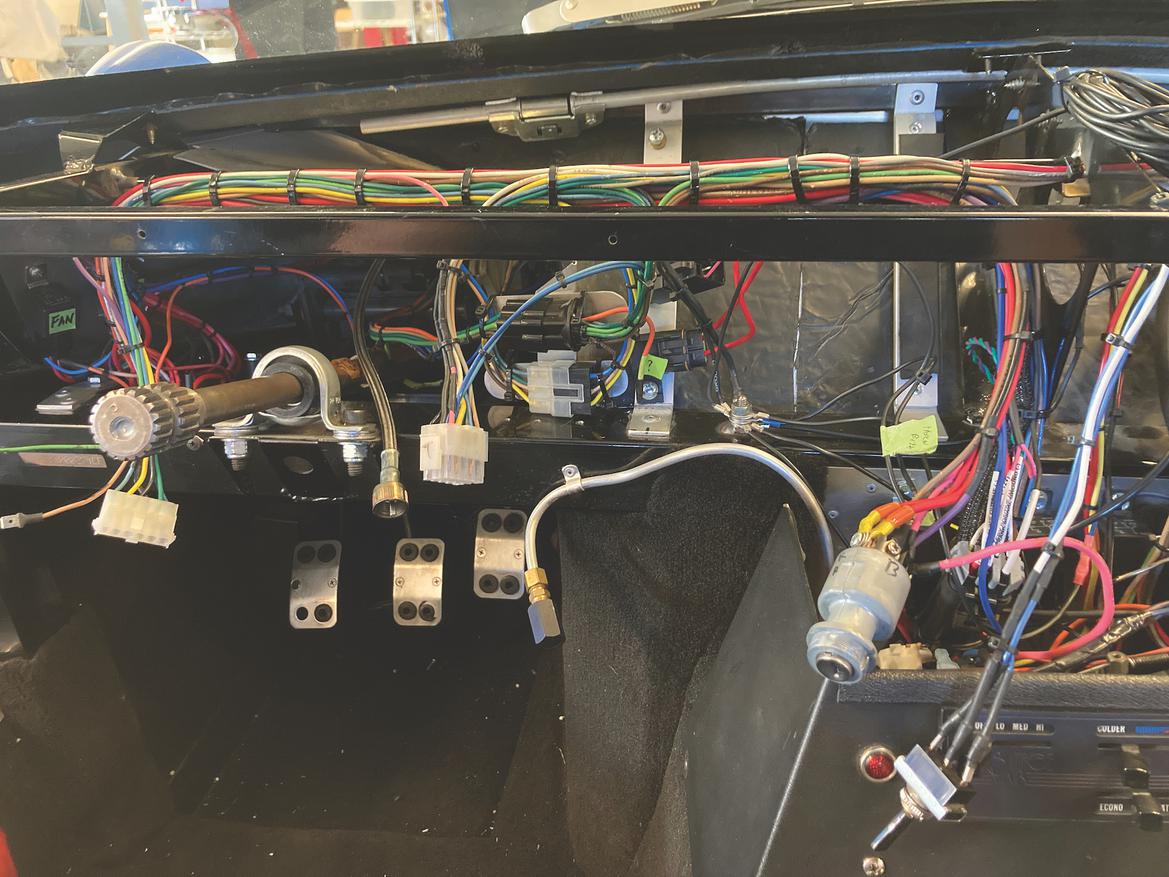
14. A number of hours later, the sprint wiring was beginning to look moderately neat. Virtually all of the zip-ties within the image are nonetheless momentary. A number of instances, we discovered ourselves including or rerouting wires within the large bundle as we cleaned up subbundles or relocated elements.
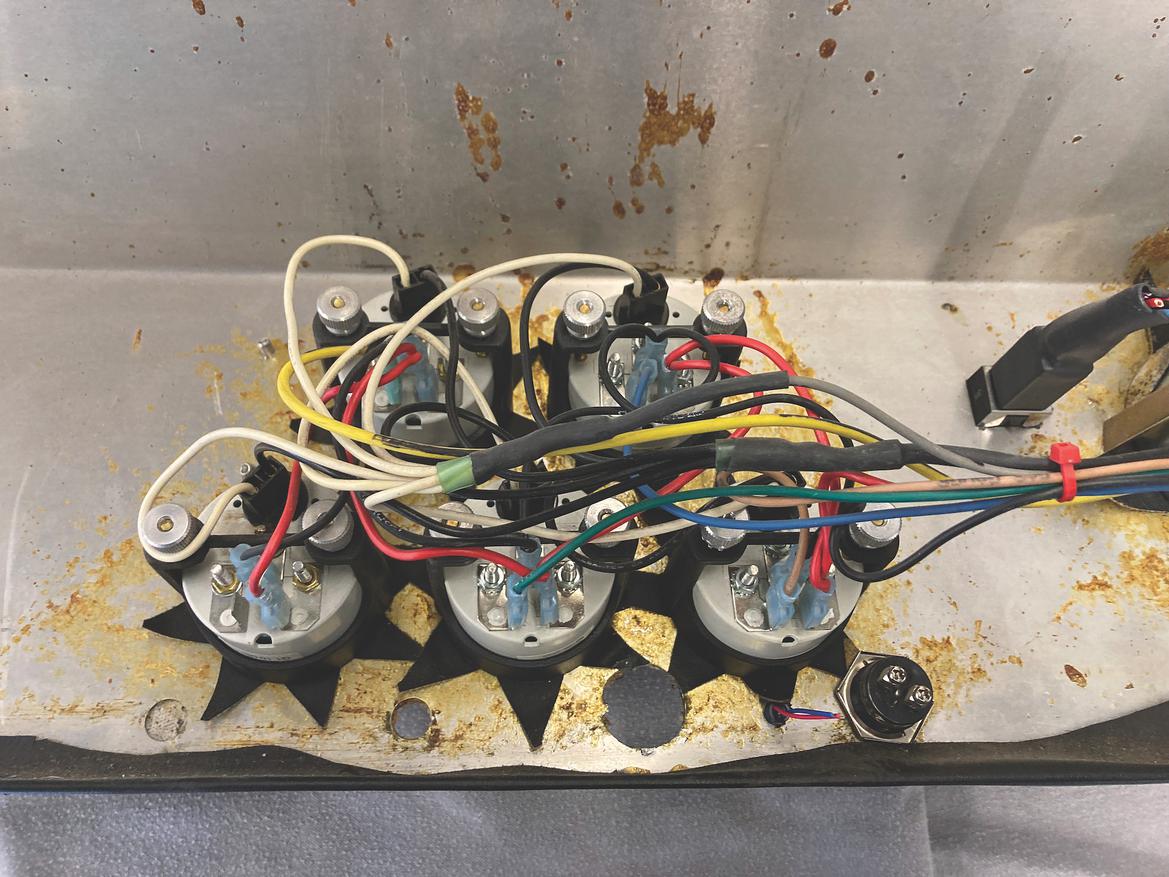
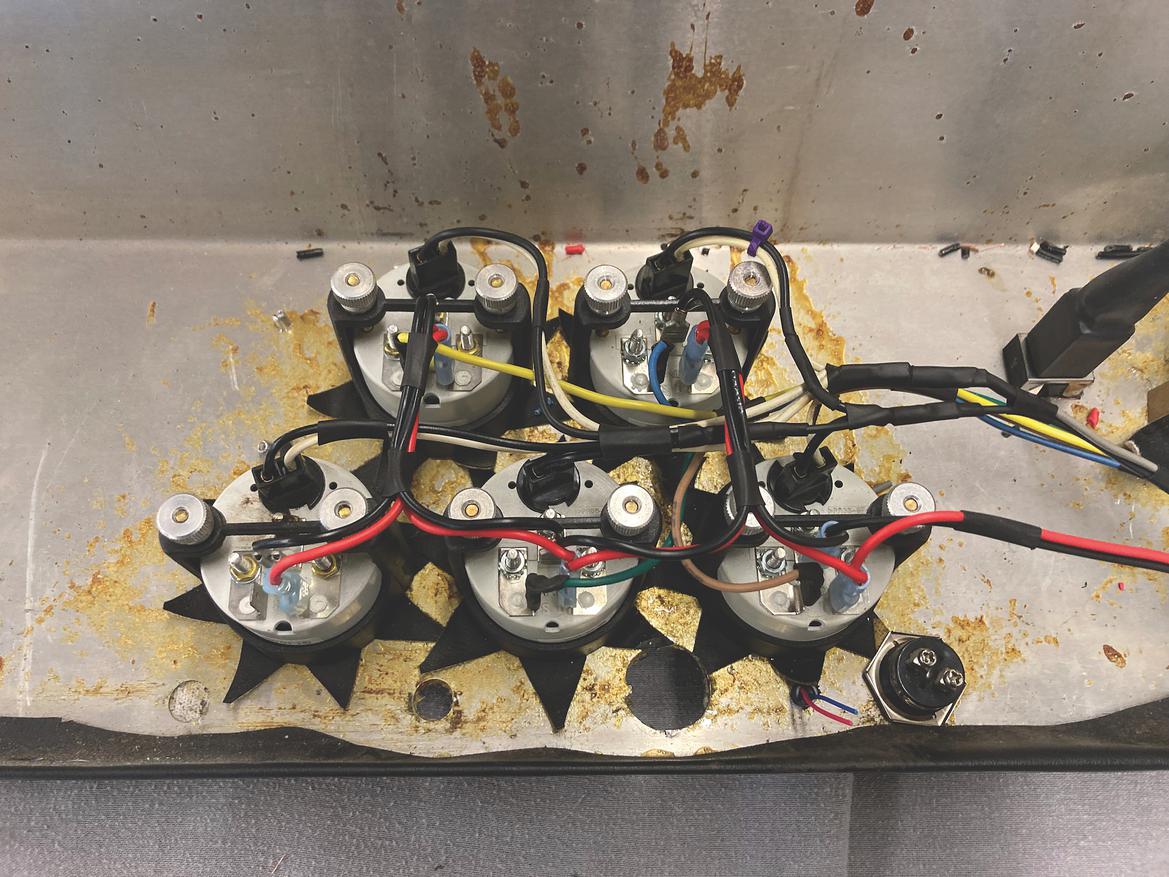
15, 16. The subbundles behind the gauges didn’t begin as such a multitude, however we had been nonetheless capable of clear them up a bit.
17. We lastly had a dashboard harness that wasn’t scary. We put the ultimate set of zip-ties across the bundles and strapped the bundles to their helps earlier than putting in the dashboard and doing one final check.
Trending Merchandise