After years of dreaming of our personal machined elements, we jumped down the rabbit gap. We’re not claiming to be precise machinists, however we’re studying the best way to machine elements at dwelling.
Within the first installment of this collection, we discovered about design, technical drawings and CAD fashions. Part 1 concluded with some aluminum elements made to our drawings by SendCutSend, a web-based steel reducing firm.
It additionally concluded with a remorse: “Sadly, there’s no Management-P for bodily elements.” Not like this textual content, which our laser printer may spit out in 10 seconds, there’s no actual equal for three-dimensional elements designed in CAD software program.
No less than, that’s what we’d have written a decade in the past, when 3D printers have been costly, temperamental units reserved for professionals. Nevertheless it’s 2022, and the longer term is right here: Because it seems, there’s a Management-P to your CAD designs because of the trendy desktop 3D printer. So let’s get these information off the pc and into the true world.
3D Printer Sorts
There are two widespread strategies of 3D printing on the shopper degree: fused deposition modeling (FDM) and stereolithography equipment (SLA), although SLA printers are sometimes simply known as resin printers. Including to the confusion, FDM printers are additionally known as FFF, which stands for fused filament fabrication. There are various different varieties of 3D printing/additive manufacturing, however in case you’re searching for data on zillion-dollar Inconel powder laser welders, you’re in all probability not the correct viewers for this text.
So, let’s speak FDM versus resin printers, since you’ll have one in your Amazon cart earlier than you realize it.
FDM Printers:
It’s best to start out this dialogue with what you already personal, the everyday inkjet printer. While you hit print on a Phrase doc, your printer sucks up a bit of paper and begins slowly shifting it towards the skin world. We’ll say the paper is shifting alongside the y-axis.
Let’s add that textual content: Your printer solely has one coloration, black, and its ink cartridge strikes forwards and backwards throughout the paper, alongside an axis we’ll name the x-axis. That ink cartridge squirts out little dots of ink because it strikes throughout the web page.
By combining motion of the x (cartridge) and y (paper) axes, your printer can put dots anyplace on the web page. And by combining tons and many tiny dots, your printer makes phrases seem. Congratulations, you’re now an professional on two-dimensional printing.
The place does that third dimension come into play? Meet the z-axis, which differentiates your 3D printer from a 2D printer. The z-axis permits the ink cartridge to maneuver up and down as a substitute of simply left and proper.
FDM printers work the identical means relating to the x- and y-axes (although that piece of paper is changed by a flat half known as the construct plate). However somewhat than squirting dots of ink, they squirt melted plastic. By squirting plastic in the identical spot repeatedly, they add a number of layers alongside the z-axis–typically 1000’s–till they’ve printed a three-dimensional merchandise.
What squirts the plastic? Not an ink cartridge, however one thing known as an extruder. In its easiest kind, an extruder is only a heated nozzle that’s fed plastic by a motor. That plastic is offered on rolls and known as filament, and it seems like yard trimmer string.
SLA/Resin Printers:
Resin printers, somewhat than squirting melted plastic into the form of elements, construct issues with a unique technique.
We’ll begin with the setup: an enormous, sq. vat of curable photopolymer (often UV resin), not totally not like that fancy glue your dentist makes use of. Like that dental glue, printer resin stays liquid till it’s uncovered to UV gentle. Upon publicity, it immediately hardens into strong materials.
So the printer has an enormous, sq. vat of UV resin, and if it’s all uncovered to UV gentle, it hardens right into a strong sq. block. Nevertheless it’s not going to be uncovered unexpectedly. As an alternative, resin printers use a particularly centered laser, form of like a extra exact laser pointer, and shine it on just one a part of the resin at a time. By waving the laser round, the printer creates layer after layer of hardened resin inside the bigger resin tank, till the print is full and able to be faraway from the resin tub it was in-built.
Selecting a Printer
Which printer is the correct alternative? As with most issues, it relies upon. On the shopper degree, FDM printers are often inexpensive, quicker, and print stronger elements. Resin printers usually have a smaller construct quantity, they usually require messy (and costly) upkeep and consumables.
Fairly clear winner, proper? Properly, resin printers have an ace up their sleeve: high quality.
FDM printers virtually at all times fill your half with seen layer traces and can battle with tiny particulars, whereas resin printers can print extraordinarily clean, detailed, constant fashions. That’s why they’re the printer of alternative for anyone constructing motion figures, jewellery and the like.
For constructing race automotive elements, although, we’re satisfied that an FDM printer is the way in which to go. And that alternative opens up lots of of choices, with every thing from $100 kits to $100,000 industrial machines obtainable to FDM printer buyers. We wished the Miata of printers: one thing cheap, widespread, and with a robust aftermarket and tons of free data being shared on-line.
Meet the Miata
What’s the Miata of 3D printers? We discovered the reply to this query on the Grassroots Motorsports discussion board: the Creality Ender 3.
This printer isn’t the very best at something, however it’s fairly good at every thing, it’s cheap (costs hover round $200 unassembled), and it’s broadly supported. We had one on our doorstep just a few days after ordering and assembled it in a night. Identical to that, we have been 3D printing within the storage. A standard Ender 3 has a most construct envelope of about 8.6×8.6×9.8 inches.
Nevertheless it’s not that simple.
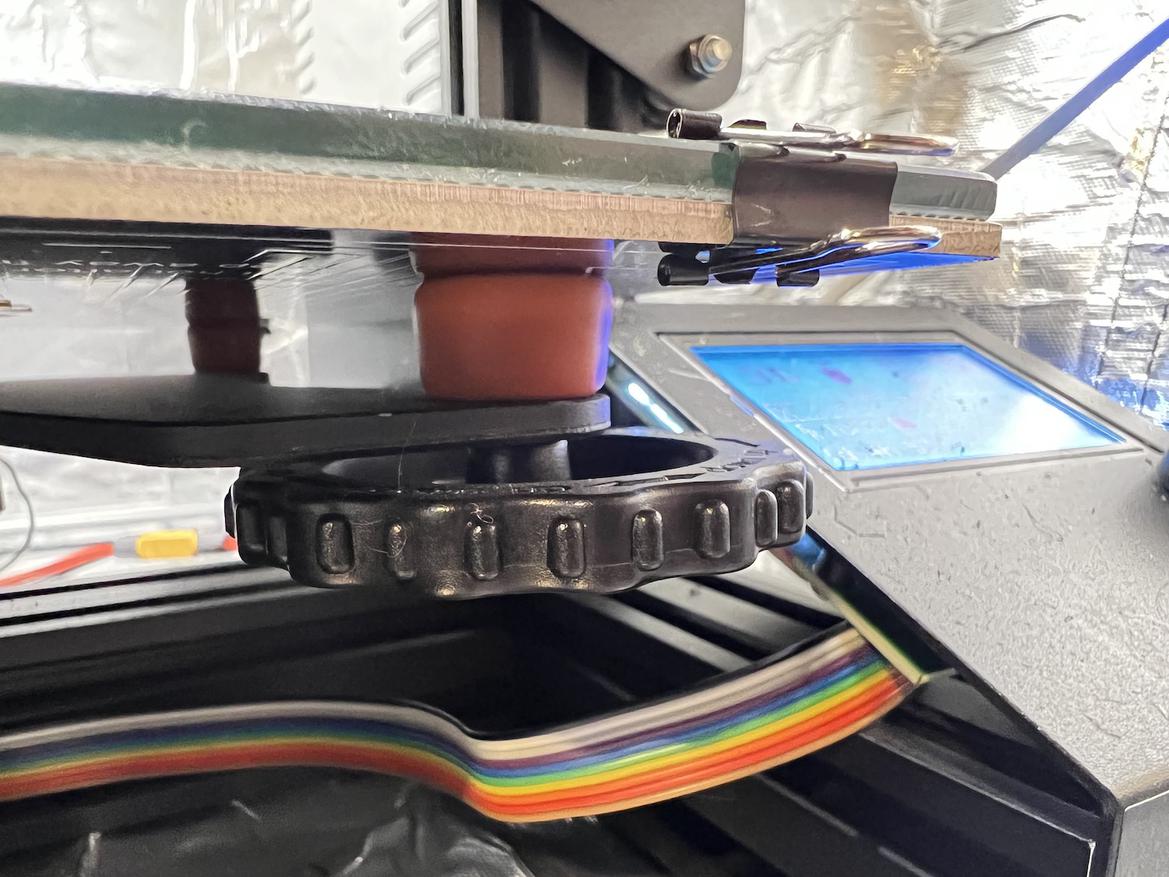
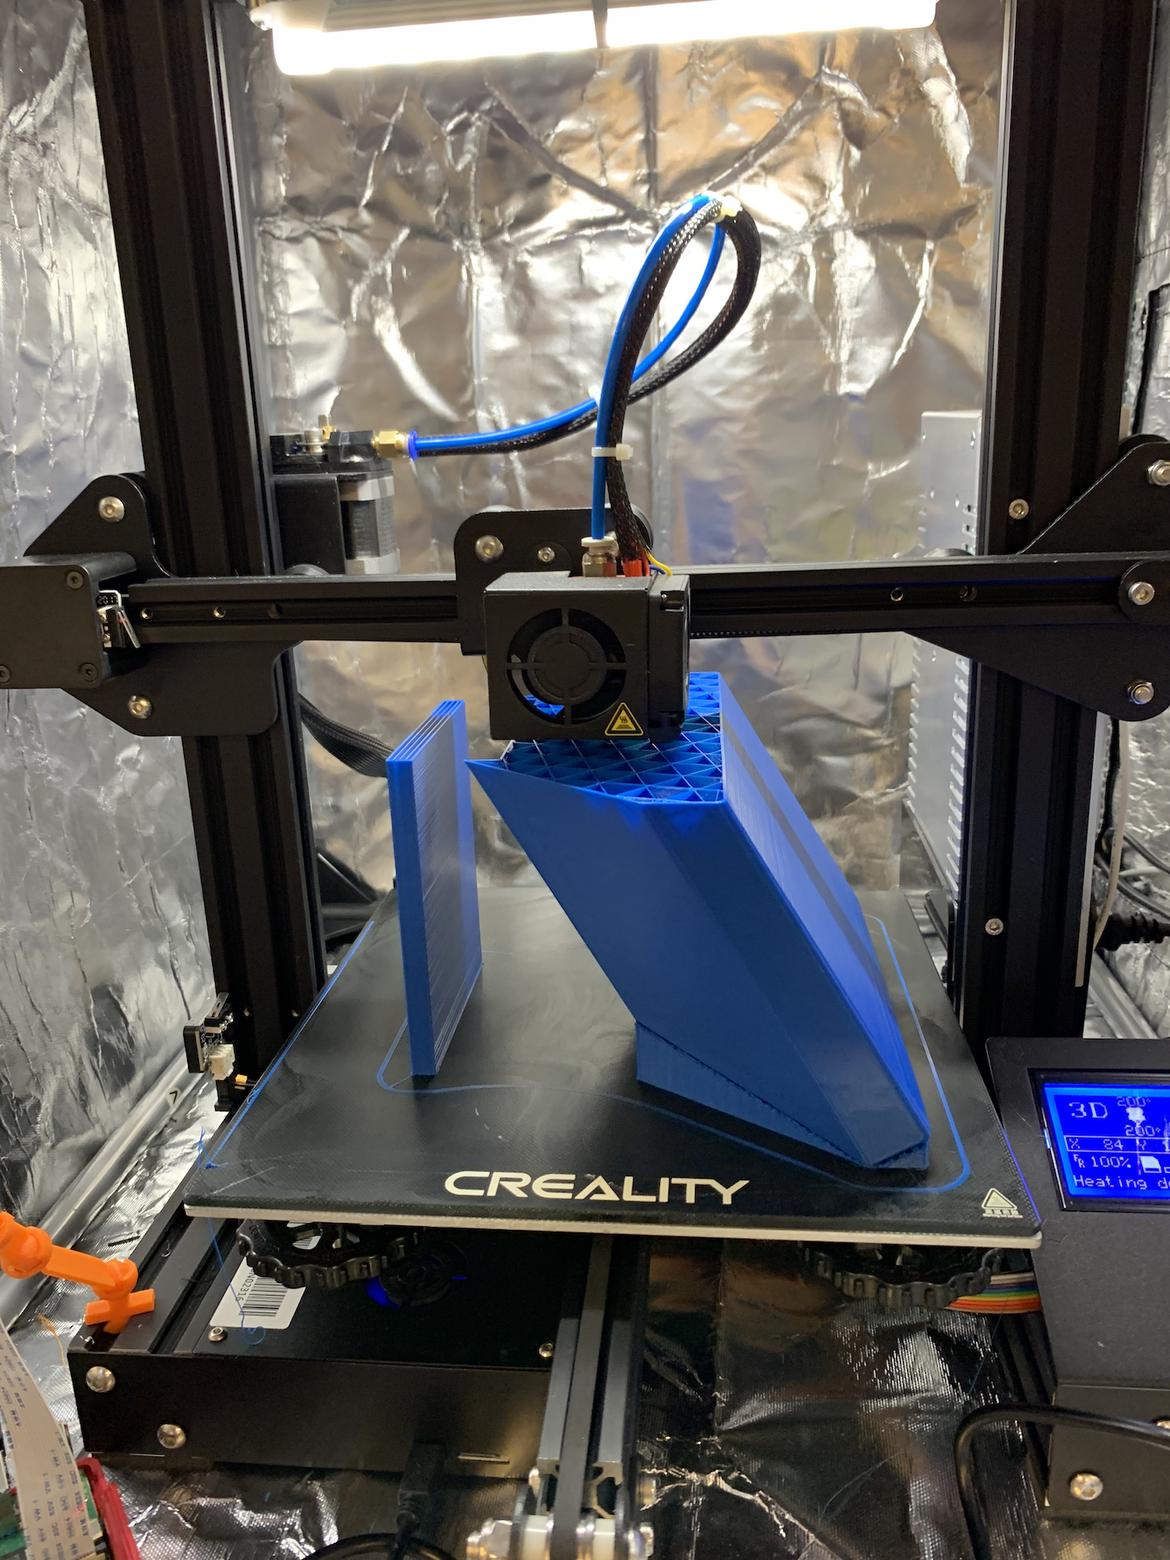
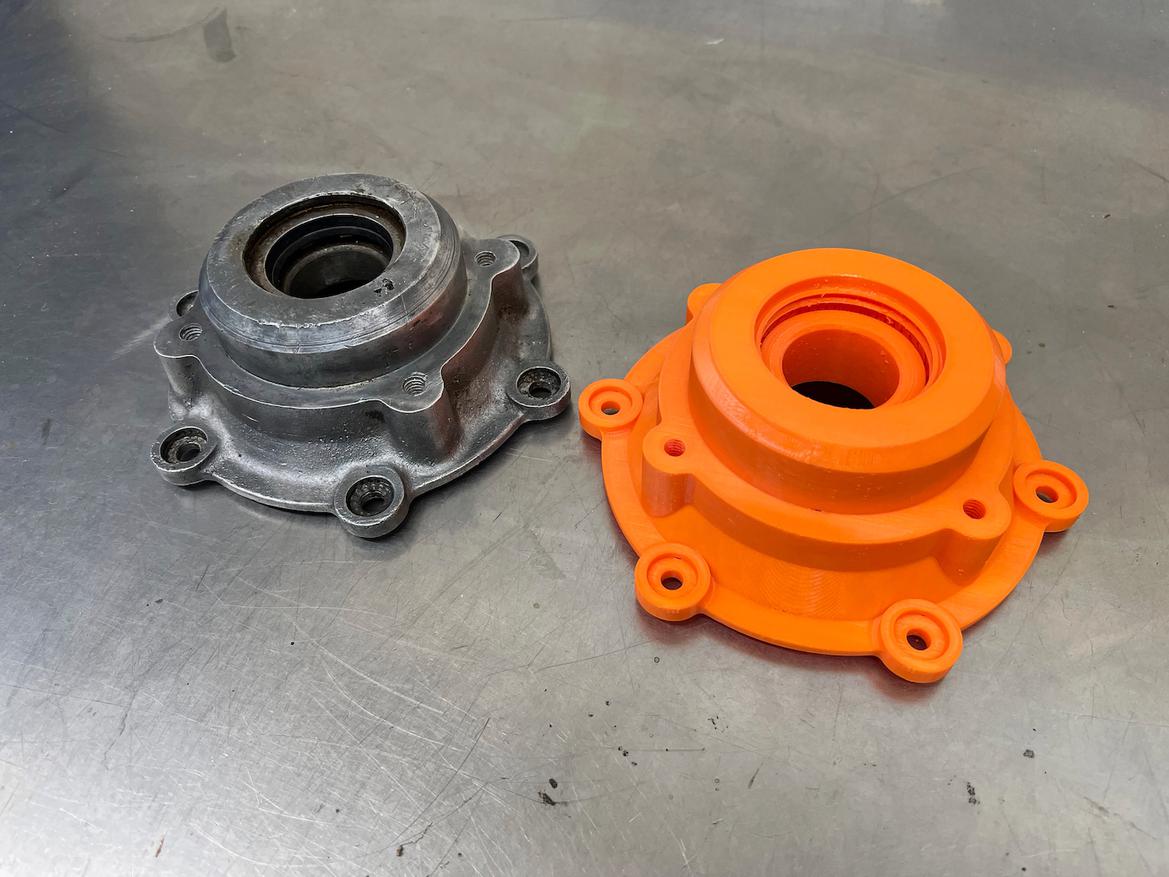
Meet the Miata of 3D printers: Creality’s Ender 3. You possibly can even modify it like a Miata, as illustrated by our glass mattress and stiff orange suspension bushings.
You’d name us loopy if we defined there was a studying curve to your laser printer however, sadly, commonly working a 3D printer could be tough. Reasonably than set it and neglect it, we rapidly realized that holding a low-end 3D printer working is a interest all by itself.
Simply as we aren’t CAD tutors, we additionally aren’t 3D printer professors. We advise you to simply learn the directions rigorously and be ready to experiment with settings till you’re in a position to produce clear, constant prints. For us, that meant a couple of kilogram of wasted filament and some aftermarket upgrades, together with including a glass mattress ($13), swapping from sprung to strong mattress mounts ($9), and upgrading our extruder to an all-metal hotend ($20). We additionally purchased a $70 enclosure to stop drafts from warping our prints and to maintain out the grime and dirt floating across the storage.
When you’ve ever tinkered with R/C vehicles, tinkering along with your printer will really feel remarkably comparable. Don’t be afraid to dive beneath the hood.
3D Printer Supplies
So that you’ve purchased a printer, given it an intensive tune-up, and printed just a few take a look at fashions from Thingiverse. Time to place it to work within the storage.
What are you able to do with an Ender 3? Let’s again up a minute and discuss FDM printer materials. That plastic filament isn’t simply “plastic;” it’s a selected sort, and there are many decisions.
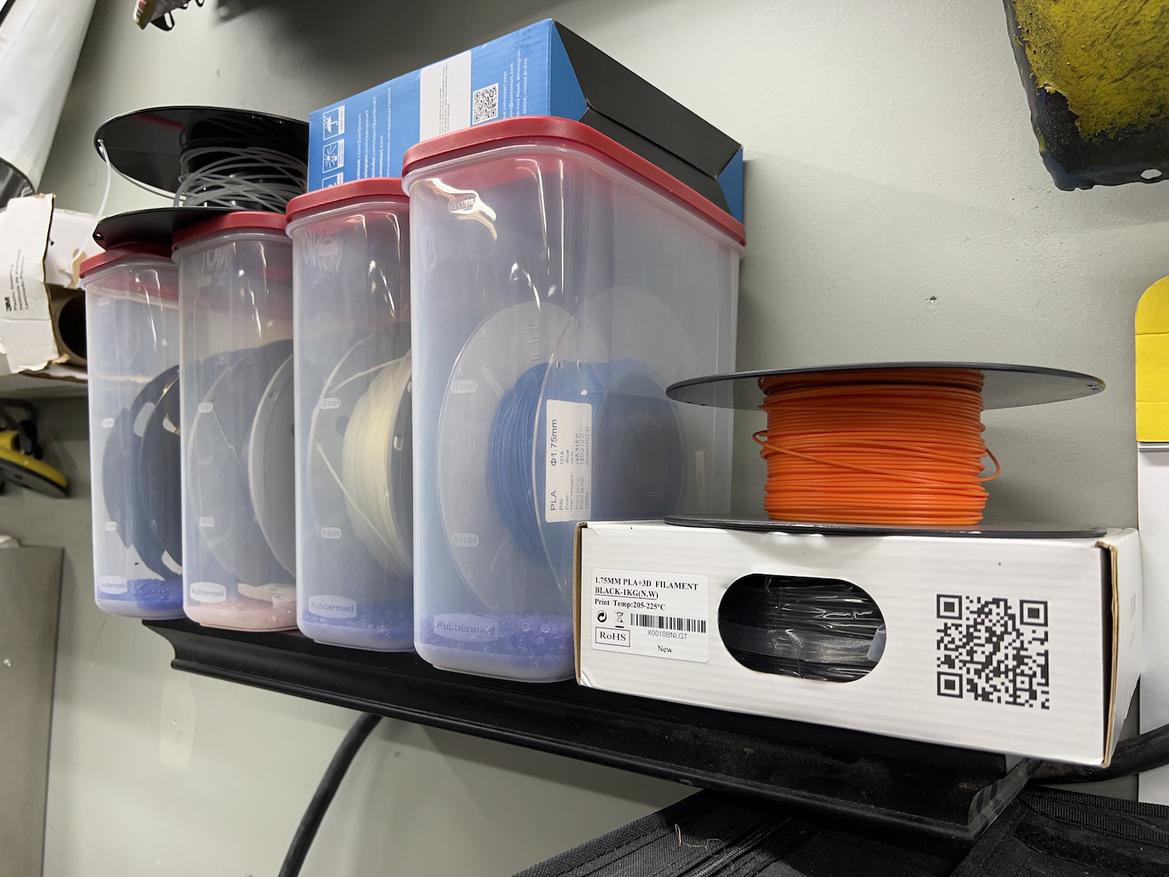
We’ll begin with the commonest possibility: polylactic acid (PLA), the default alternative for 3D printing. This plastic is unhazardous, biodegradable, and prints very simply. However there’s a draw back: It prints simply as a result of it begins to soften at a reasonably low temperature, roughly 125 levels Fahrenheit. That low melting level means it isn’t appropriate for many automotive functions, as it is going to begin to deform even when left in a parked automotive on a heat day.
What if you wish to print elements that maintain as much as automotive temperatures? Meet ABS and PETG, two widespread plastics that an Ender 3 shouldn’t battle an excessive amount of to print. After experimenting with each, we settled on PETG as the very best compromise between printability and power, and haven’t had a problem utilizing it for all types of automotive initiatives.
PETG begins to deform at round 175 levels Fahrenheit, so it’s completely appropriate for something on a race automotive that doesn’t straight contact the driveline or brakes. ABS has an excellent larger temperature tolerance–about 225 levels–however that makes it even more durable for a printer to print.
Meet the Miata of 3D printers: Creality’s Ender 3. You possibly can even modify it like a Miata, as illustrated by our glass mattress and stiff orange suspension bushings.
There’s additionally PLA+, ASA, TPU, nylon, polycarbonate and all types of fiber-reinforced filaments available on the market. How do you select? Crucial metric is named the “glass transition temperature,” and it’s what we’ve been referring to when discussing every materials’s warmth tolerance.
Reasonably than the melting level, which is larger and means “your half is a puddle on the bottom,” the glass transition temperature is the purpose at which your half turns from strong to extra of a molten-glass consistency, which means it begins to get all rubbery. That’s unhealthy.
When you’ve picked a cloth with sufficient warmth tolerance to your software, the remainder of the choice comes all the way down to printability and suitability. TPU, for instance, is versatile, whereas PETG is taken into account meals secure in case you’ll be printing elements to your endurance race automotive’s drink bottle.
3D Printer Slicing
Congratulations, in just some thousand phrases you’ve discovered CAD, designed an element, purchased a 3D printer, and chosen a filament. It’s lastly time to smash that print button and see your design come to life.
Simply kidding, you continue to need to slice your mannequin utilizing a program known as a slicer. This course of turns your three-dimensional mannequin, which that printer has no capability to grasp, right into a collection of instructions that it could actually.
These instructions are known as G-code. There are just a few fashionable free slicing functions, with Ultimaker Cura being by far the most well-liked. Fusion 360 additionally has a slicer constructed into its design atmosphere. We’ve used each with success, and in concept each slicer could be tuned to output an identical G-code.
G-code is essentially the most broadly used CNC programming language, and its construction is remarkably easy. A G-code doc is only a linear listing of actions to your machine to comply with. When you draw a CAD mannequin of a cylinder, the G-code to your 3D printer would principally learn “Transfer in a circle at this pace whereas extruding plastic. Transfer up barely. Transfer in a circle at this pace whereas extruding plastic. Transfer up barely. Transfer in a circle at this pace whereas extruding plastic. Transfer up barely.”
Your 3D printer won’t ever know or care that you just’ve drawn a cylinder. It simply is aware of the place to maneuver its extruder and how briskly to maneuver it. At typical settings, a 1-inch-tall cylinder has about 150 of those round layers.
These layers are why creating 3D printer G-code is named slicing. Your slicer turns advanced geometry into layers with vertical edges, which means an ideal cone is made up of a bunch of stacked round layers that regularly get smaller in diameter.
How tall are the layers? As common, it relies upon. Layer peak is a tradeoff between decision and print pace. Taller layers require fewer of them, however these vertical layer edges are extra seen. Shorter layers have a lot much less seen layer edges, however way more should be printed for an equal-height print.
Your slicer received’t simply ask for a layer peak, although. In truth, you’ll discover lots of of settings, from fan speeds to retraction distances, assist, infill and extra. We received’t dive into all of them right here, however there are just a few you need to learn about.
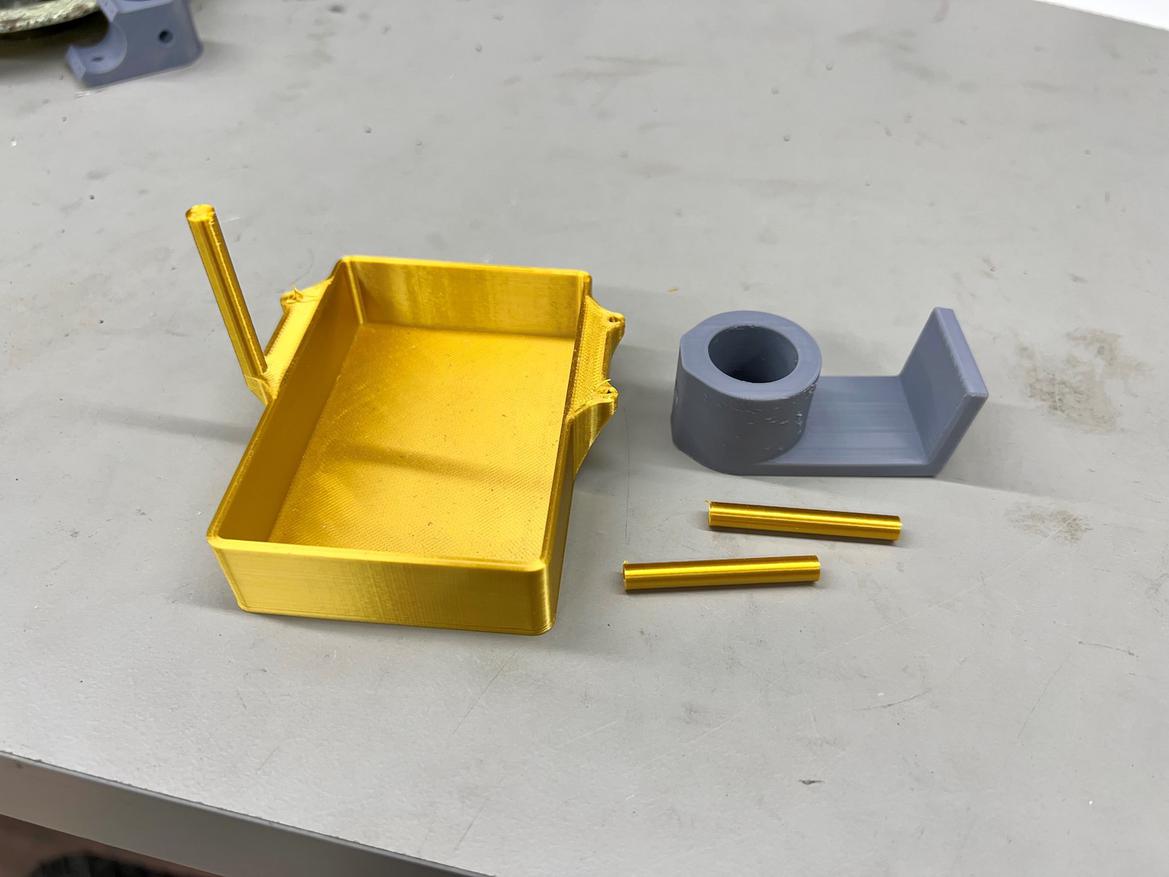
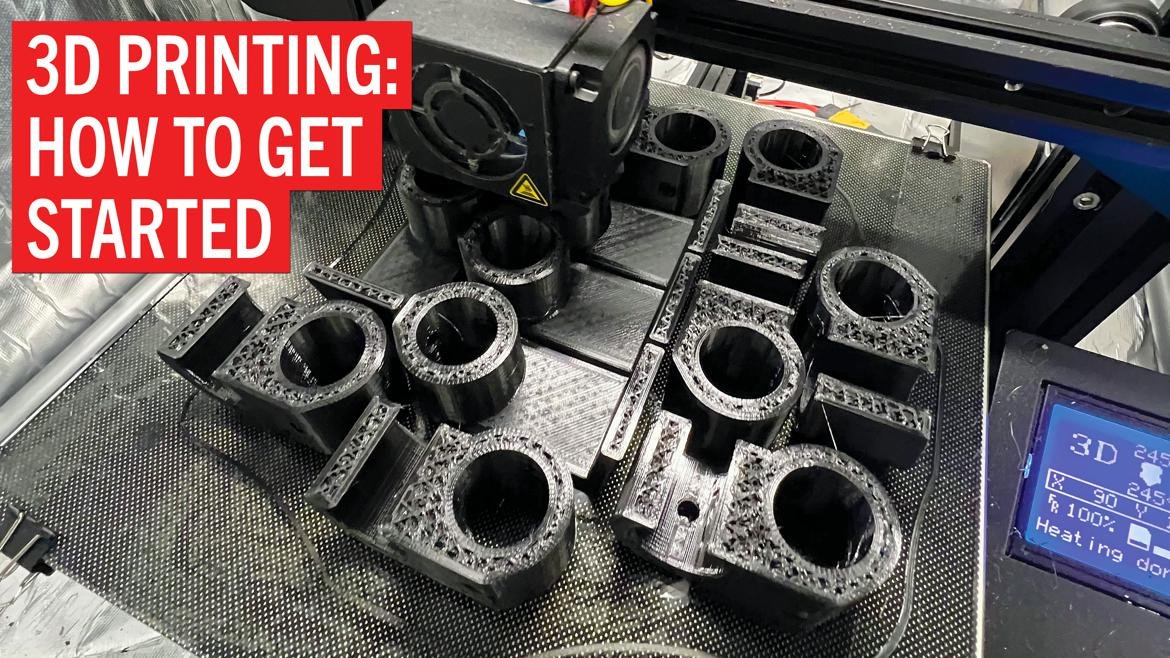
3D printers are in a position to make advanced elements, however pay shut consideration to layer orientation when slicing. Attempt to hold forces parallel to layer traces, not like this primary try on the gold fuse field cowl.
Orientation:
The way you orient the half in your construct plate issues. Altering the orientation can enhance power, cut back materials waste, decrease print time and extra. We at all times attempt to print our elements so the very best forces are parallel to our layer traces, which means they’re unfold throughout every layer somewhat than making an attempt to drag the layers aside from one another.
Infill:
You’ll see this time period tossed round a bunch, and it’s an enormous a part of how sturdy your 3D printed elements shall be. Not like injection-molded plastic elements, that are full-density plastic all through, 3D printed elements are printed as hole shells, with infill within the center. This infill can take many shapes, with the commonest being a grid or cubic sample of interlocking traces.
We print elements which can be only for present or test-fitting at 15% infill (which means 15% of the inside quantity is plastic), whereas structural elements appear to love no less than 50% infill. And after we do print one thing totally strong, it’s often stronger if we make the partitions an infinite most thickness somewhat than to show the infill as much as 100%.
Temperature:
Each filament, and typically even a sure roll of the identical filament, prefers a unique temperature. It’s necessary to experiment with completely different mattress and extruder temperatures, and even differ them relying on what you’re printing.
Constructing one thing nonstructural with a whole lot of unsupported extrusions? Chances are you’ll need to decrease the temperature to enhance bridging. When you’re printing one thing structural the place look isn’t as crucial, it’d assist to print at the next temperature to enhance layer adhesion.
Help:
3D printers can’t print on air; they will solely print on high of one thing else, which is often a construct plate to start out after which layers of plastic.
However what about when an element has holes, arcs or overhangs? Printers can accommodate printing at an overhang (often round 60 levels), however past that you just’ll have to discover the world of helps. These are further plastic buildings, printed beneath these overhangs, that you just’ll snap off the half as soon as it’s performed printing.
Time:
Welcome to essentially the most valuable useful resource in 3D printing: time. Printers could seem to be magic, however that’s earlier than you notice they devour cubic quantities of time to make elements. It’s not unusual for modest prints to take 4, 6, 12 and even 24 hours, with our present file for longest steady print clocking in at greater than 38 hours. Each setting you alter impacts the period of time your half takes to print.
Trending Merchandise